Share, Synchronize, and Back Up Your Brains

You can use TheBrain Cloud to publish and share your brain. People can view your published brains whether or not TheBrain is installed on their machines.
To create a Brain account:
- Go to then click the Log In button in the top-right area

Figure 300. Sign Up Button
- Click the Sign up button.
Figure 301. Login Button
- Complete all fields in the Sign Up form, then click the Sign Up button. You will see a message explaining that a confirmation notice has been sent to the email address you provided. When you receive the message, follow its instructions to click the link and activate your account.

Allow a few minutes for the email to be delivered. Check your spam folder if the message doesn’t arrive within a reasonable amount of time.
- Now you can return to the www.thebrain.com page and click the Login button to log in using the information you provided when you signed up.
Synchronizing Your Brain
With TheBrain and TheBrain Cloud Services you can use your brain on multiple computers and synchronize changes. Any changes you make to your brain on one machine will be reflected on every other machine through synchronization!
Cloud synchronization is protected using 128-bit AES Encryption. (This is the same encryption used by the US government to protect classified information.)
Port 443 is used for encrypted syncs. If your IT staff is using a firewall, you can ask them to add WebBrain.com and api.thebrain.com to the white list of your company's firewall. If your IT staff is using a proxy, you will need to try setting up a Proxy connection via TheBrain by using the options found in TheBrain’s Preferences > System tab.
Make sure you have created an account on TheBrain.com before you begin synchronizing. Some Cloud services require a subscription fee.
To synchronize your brain:
- Open the brain you wish to sync. Click the cloud icon in the menu bar, or click the Online menu, then click the Sync Brain command.

Figure 302. The Cloud Icon in the TheBrain Toolbar

Figure 303. Sync Brain Command
- Click the Upload button to upload this local brain.
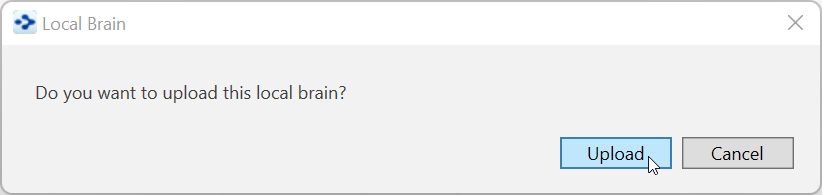
Figure 304. Confirming Upload
- A progress indicator shows you the upload is taking place, followed by a brief confirmation message.
You can keep working while the synchronization process is continuing in the
background. If there is an interruption during an initial upload of your brain, TheBrain will offer to resume from where it was stopped the next time you synchronize.
- When the process is complete, just go to the other computer on which you want to access your brain. Open TheBrain application and log in. From the list of available brains, click on TheBrain thumbnail, then click the
Download button when it appears.
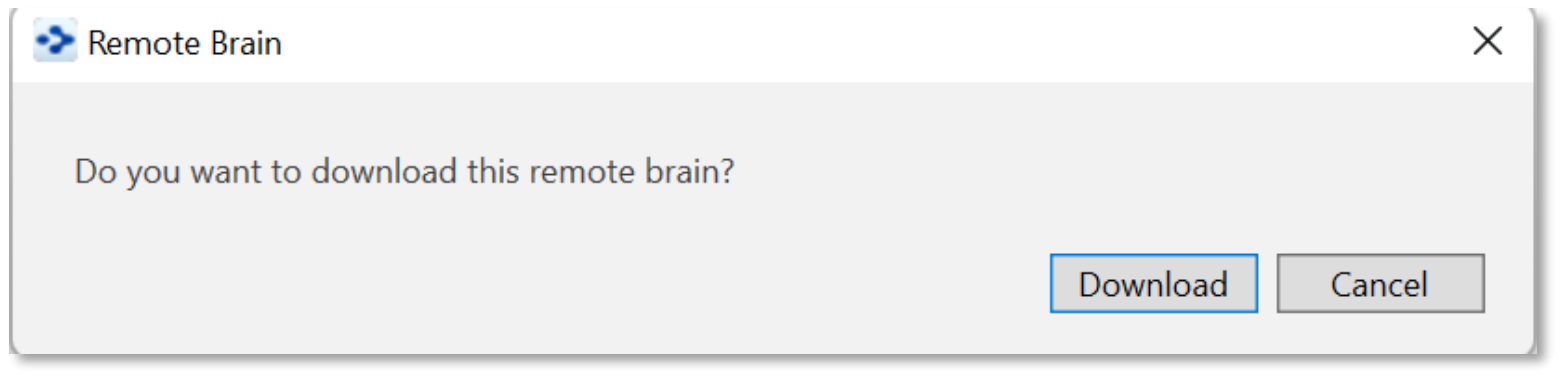
Figure 305. Download for Local Use
- To synchronize at any time, click the cloud icon in the menu bar or the Sync Brain command in the Online menu. The active copy of your brain will include the latest changes.
Once your brain has been synced, your brain will be automatically set to auto-
sync. To turn this feature off, click the Sync Status button next to the Cloud icon
in the tool bar.
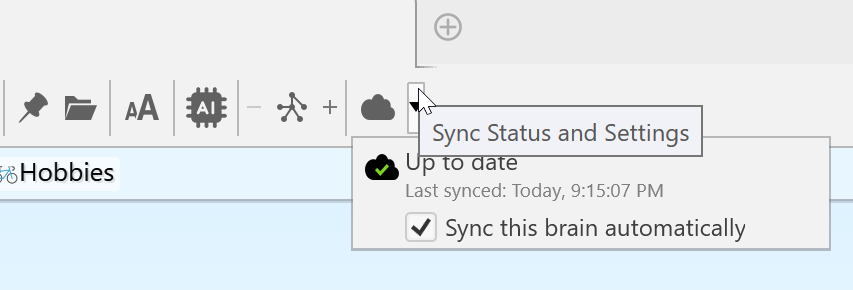
Figure 306. The Sync Status Button
The Sync Status will also display if local changes or online changes are available
or if the sync is up to date. The last sync date will also be displayed.
Brain thumbnails in your list of available brains will indicate if a brain is local only,
local and online (synced) or online only.
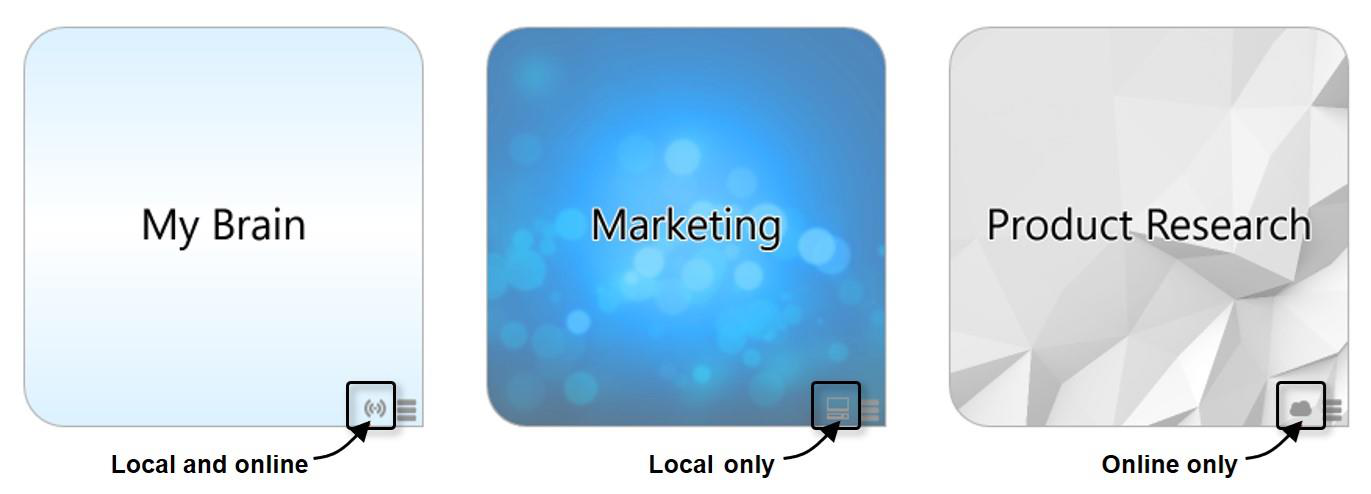
Figure 307. Brain Location Indicators
Editing Your Online Brain
The desktop application has more available features than the web client, but you
can still access and edit your online brains by performing any of the following
activities:
Create and Forget Thoughts
Change thought locations (child to jump)
Unlink thoughts
Set Pins
Edit Notes
Add Attachments
You can only edit brains that YOU own.
To edit notes in your online brain:
- Click in the content area and make any changes you like. The revised note
will be saved automatically as soon as you click on another thought.
Sharing Your Online Brain
All brains synced to are private and not accessible to
other users without entials. To share a Version 12 brain
with other users:
Open the brain in your local desktop application
Click the Online menu, then click Brain Access and Sharing…
You have two different options for sharing your brain:
oOption 1: Click the Allow Public Access check box and share the Web
Link with others. This is a great option for sharing your brain with a large
group of other users or other users that do not use TheBrain software.
Anyone with the URL will be able to view your brain in read-only mode in
their web browser.
oOption 2: Leave Allow Public Access unchecked and type in an email
address to invite individual users to access your brain. This is a good
option if you want other users to be able to download a local, read-only
copy of this brain to their desktop app. The other users must have
TheBrain installed and be logged in to their Brain account with the email
address you specified.
To prepare your brain to be shared:
- Activate the thought that you want to be the Home thought when your brain
is viewed. It will be the first thought your viewers see.
-Right-click the thought, then click the Set as Home Thought
command
The current wallpaper and color theme will be included in your published brain.
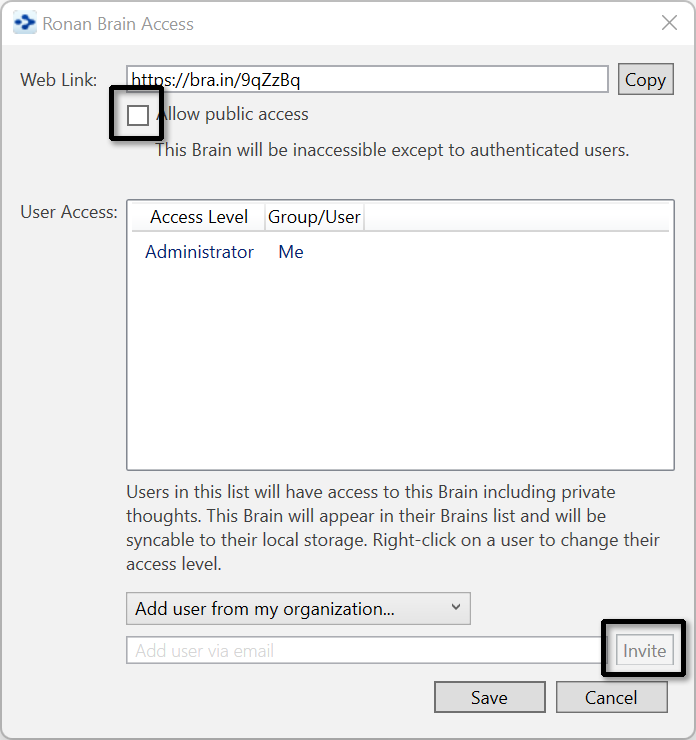
Figure 308. Brain Access and Public URL
Creating a Brain Archive to Send Your Brain to Others
You can send your brain as an email attachment. To make the attachment as small as possible, you can use TheBrain’s Backup to Brain Archive feature to create a compact file.
To create a Brain Archive:
Click the File menu, then click the Backup to Brain Archive command.
In the Backup to Brain Archive dialog box, select either of the Access Control options.
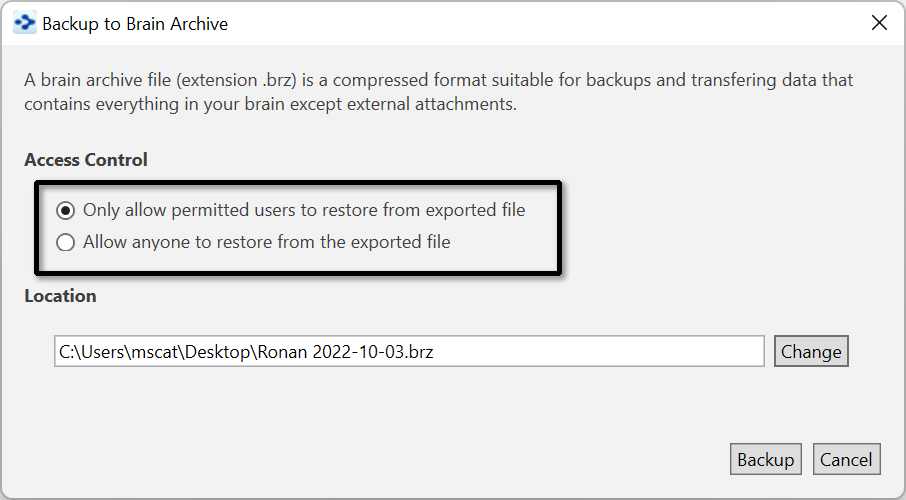
Figure 309. Create Brain Archive Options
- If necessary, click the Change button to change the file name or the folder where the archive file will be saved. Do not change the filename extension, which is .BRZ. Click the Backup button to create the archive file.
Make a note of where you are saving your archive file so that you can locate it easily when needed.
A brief message will display in the toolbar area as the archive is created.
Brain Archive files are NOT .zip files. You should not use zip file utilities to modify or access your archive files as doing so may corrupt them.
Copying Thoughts into Other Applications as an Outline
You can copy thoughts from the Selection panel into other programs such as Microsoft Word or Excel and the thoughts will be formatted as an indented hierarchical list.
To copy one or more thoughts into another program as an outline:
Select all of the thoughts you want to include in the outline (Ctrl-click on a thought to add it to the selection or use the commands on the Edit menu to quickly create a selection).
Right click in the Selection panel and then click the Copy as Text Outline command.
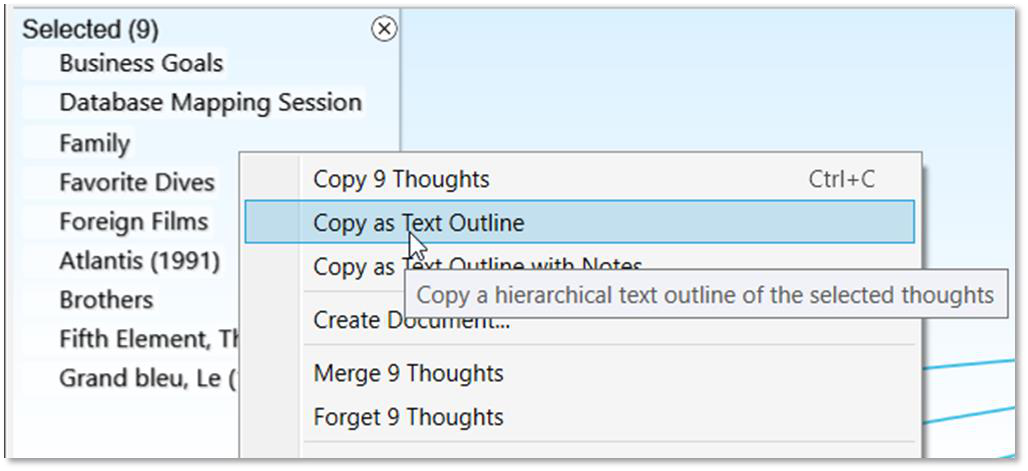
Figure 310. Copying Thoughts as an Outline
Open the other application and click where the outline version of the thoughts should be inserted.
Right-click and then click the Paste command on the context menu (or click the Edit menu and then click the Paste command).
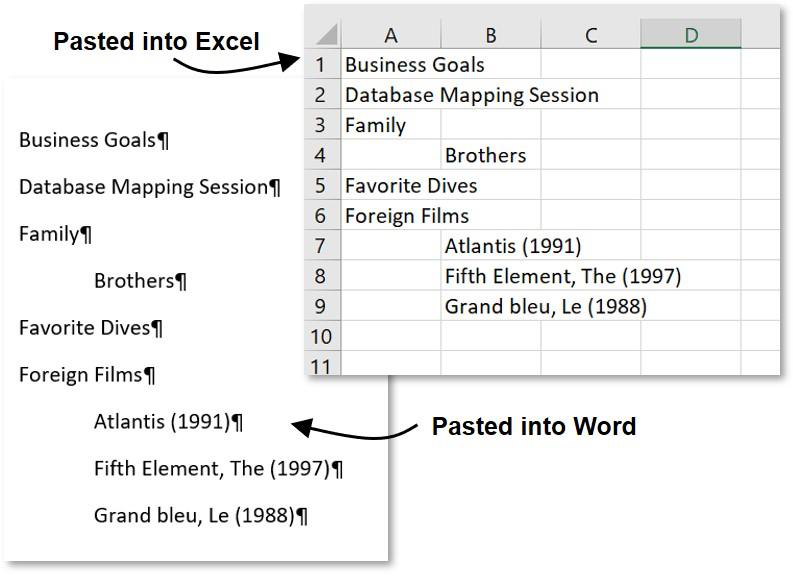
Figure 311. Samples of Outlines Created by Pasting Thoughts from TheBrain
Copying Outlines with Notes
You can copy selected thoughts along with their notes and place them in a tabbed outline.
Select the thoughts to be copied, then right-click in the Selection panel to open the context menu.
Click the Copy as Text Outline with Notes command.
Switch to Word or any other text application of your choice and press Ctrl-V (or use the program’s command for pasting).
Pasting a Text Outline as New Thoughts
You can select tab-delineated text in another application, copy it, then paste it into your brain. Each paragraph of text will become a child thought (and possibly an attachment) of the active thought, based on the formatting of the text.
Pasted outlines may include labels, attachments, and notes. If a URL is included, it is added as an attachment to the thought in the outline entry above the entry containing the URL.
How TheBrain converts content from the source file:
Each line that ends with an “Enter” or “Shift-Enter” becomes a thought
A multi-line paragraph with no manual line breaks becomes a thought
Indentation created using tabs show hierarchical relationships
Lines starting with a hyphen (-) are added as notes
Lines starting with a plus sign (+) are added as web link attachments
If a pipe (|) symbol is inserted, content to the left of the pipe will be the thought name and content to the right of the pipe will become a label (if all content is in the same paragraph)
Example:
The following text adds a thought named “Steve Jobs” with the label “Founder of Apple,” a link to Wikipedia, and a note containing a quotation.
Steve Jobs | Founder of Apple
- http://en.wikipedia.org/wiki/Steve_Jobs -"I want to put a ding in the universe."
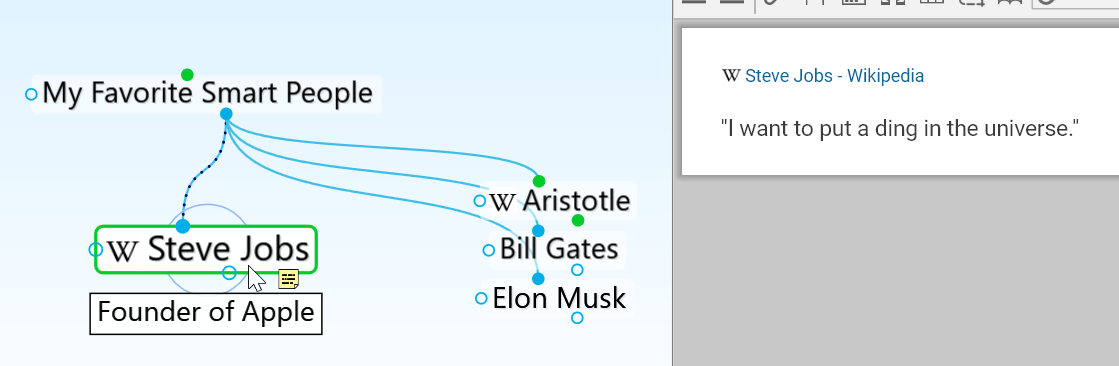
Figure 312. Example Thought from Text with a Pipe, Link, and Note